

A table is a structure of cells that are arranged in rows and columns. In Google Docs, tables are important features as we do many works using tables. Also, tables can be customized. Tables are used for presenting text information as well as numeric data.
The best thing about using tables in Google docs is it provides you with a structured way to display your information. Using a table in Google Docs is so simple and it also improves the appearance of your overall document.
Tables are not stuck at the location where you have inserted them first. You can easily move the tables in Google Docs to your desired location.
In this article, we are going to round up the steps of how to move a table freely in Google docs.
Moving your table in Google Docs:
Once you have inserted a table into Google Docs, further there may reasons be arise for that you need to move the table. It may be due to the table looking out of place or you want to change the location of the table in your document.
But the process of moving a table in Google Docs is not complicated. Users can also move the columns and rows of a table in Google docs.
Here, we will discuss moving an entire table freely in Google Docs.
Select the Entire table:

First, you need to select the entire table before moving it. To select a table, you have to select and drag your cursor over the entire table. You just make sure that all the parts of the table have covered up in your selection. When the table is selected it appears blue.
Though there are various methods to move tables freely in Google Docs here the best method will be discussed.
How to Move a Table of a Document in Google Docs (Step By-Step Process)
The easiest method involves cut-and-paste options where you can simply cut the whole table and paste it at your desired location. You can also use the keyboard shortcuts to move the table easily.
- Step 1: Go to Google Docs and open the document which needs to be edited. Locate the table.
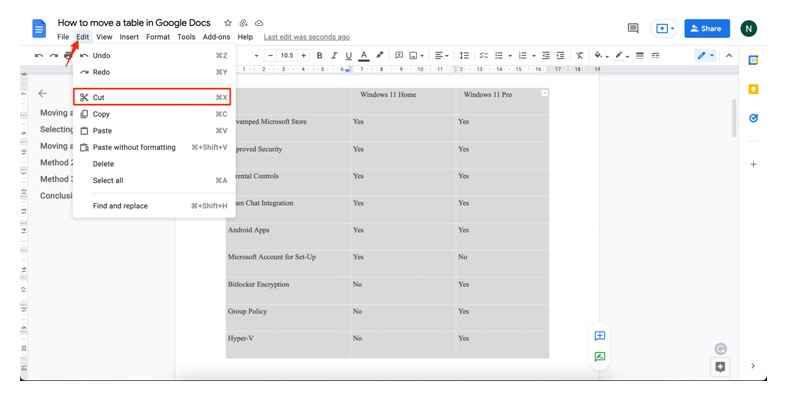
- Step 2: Then select the entire table with the help of your mouse and click on Edit present in the toolbar. Then choose the cut option from the pop-up menu or you can press CTRL+X on your keyboard to cut the table.
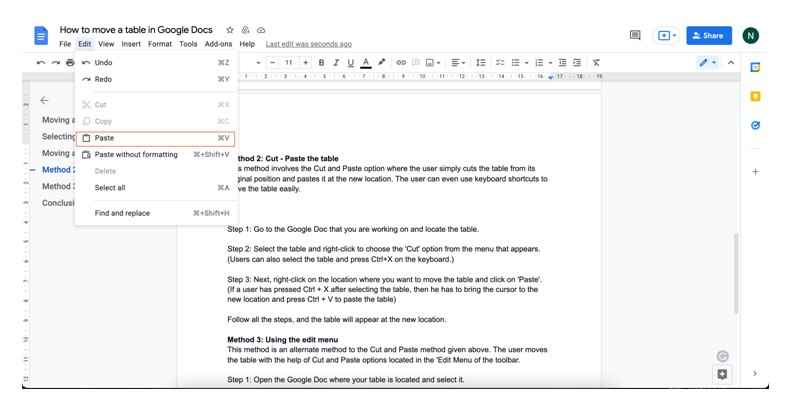
- Step 3: Next, place the cursor on the location of the document where you want to move your table. So, again click on Edit present in the toolbar. Select the paste option or you can press CTRL+V to paste the table
Thus, the table will appear at your new location in the document.
FAQ-
How to select a table in Google docs?
Ans: On your laptop open Google Docs, and then open a document. Next, you have to select and drag your cursor across the table; your table will be selected.
How to copy a table in Google docs?
Ans: to copy a table in Google Docs you need to first select the whole table, it appears blue. Then you need to go to Edit present in the toolbar and select copy option from the pop-up menu.
How to relocate a table to the center in Google docs?
Ans: You have to first right-click on the table and choose table properties from the menu. Next, one window will appear towards the bottom right there is an option for Table alignment. Then from the drop-down list choose a center. Now, select ok and the table will be centered.
Can I get two tables side by side in Google Docs?
Ans: No, it is not possible to put directly two tables side by side in Google docs but you can put it with a simple workaround. First, you need to create a two-column table. Inside the first column, you need to create a table.
The number of cells in this table will be according to your choice. And you can repeat these steps for the second one.
Conclusion:
The great thing about using the table in Google Docs enables you to display your document in a structured way. Data will finely fit within the tables and images can also be inserted within the table easily.
But, if you need to move the entire table from the previous location to a new location then you can apply the methods described in this article.


