
If you have an interest in making or editing music, the pandemic probably sparked an already strong desire to compile anything you need in a recording studio right at your fingertips. The need for many artists to move their recordings to their own homes has increased the need for privately-owned professional-grade sound equipment in turn. Learn here, how to turn your space into a DIY audio studio.
DIY or Professional Equipment?
Like in most areas, you can save some money if you have the patience and skill to put in your own work instead of buying everything pre-made. Specialized vendors like SoundImports focus on DIY audio components and accessories. Here, you can buy whole items like microphones and speakers, but also buy individual components, like tweeters or woofers, to customize the equipment even further.
With a little ingenuity, things like 3D printers can help you create customized items for your space, like casings, cabinets, tubes, and any other plastic part that will help you set up the ideal studio fitted into your individual surroundings.
Find a Suitable Recording Space
Naturally, it’s rare that an apartment just happens to come with the ideal room for an audio studio. But you can still try to find the space that will need the least adjustments or will provide the best sound possible.
How big the room must be, depends on your individual goals. The more instruments, speakers, mixing tables, and co. you want to use, the bigger it should be. Keep in mind that you will also need to soundproof the room, which can leave you with less space than anticipated.
When it comes to the recording space itself, it pays off for it to be as small as it can be to still fit all the equipment and be accessible. The larger the room, the more sound will ‘get lost, and bare walls and high ceilings will create an unwanted echo.
At best, the room has a solid wood door, no or very few windows, and a carpeted floor.
Soundproofing
The acoustics of the room are important. An empty room will echo and create low-quality recordings. Filling the room with furniture is one way to dampen this effect a little. However, the best practice is to use professional soundproofing. This way, you can control the shape and sound of the room more efficiently. Any kind of complicated room layout with many corners and windows will make this process a little more difficult.
A very basic way to create a small, soundproofed area for recordings is to basically take the microphone and sit underneath thick blankets. Naturally, a more semi-permanent setup is much more comfortable. If you don’t want to invest in professional soundproofings, like acoustic foam panels, you can hang blankets and other fabrics on the walls.
- A walk-in closet can be a great start for a recording booth since the clothing in the small space absorbs the sound and helps outside noises from bleeding in.
Test the quality of the diffusion with different techniques till you have found a sound quality that satisfies you. Eventually, you can add professional proofing materials. Some of them are specialized to control specific undesirable sounds, like “bass traps” for room corners.
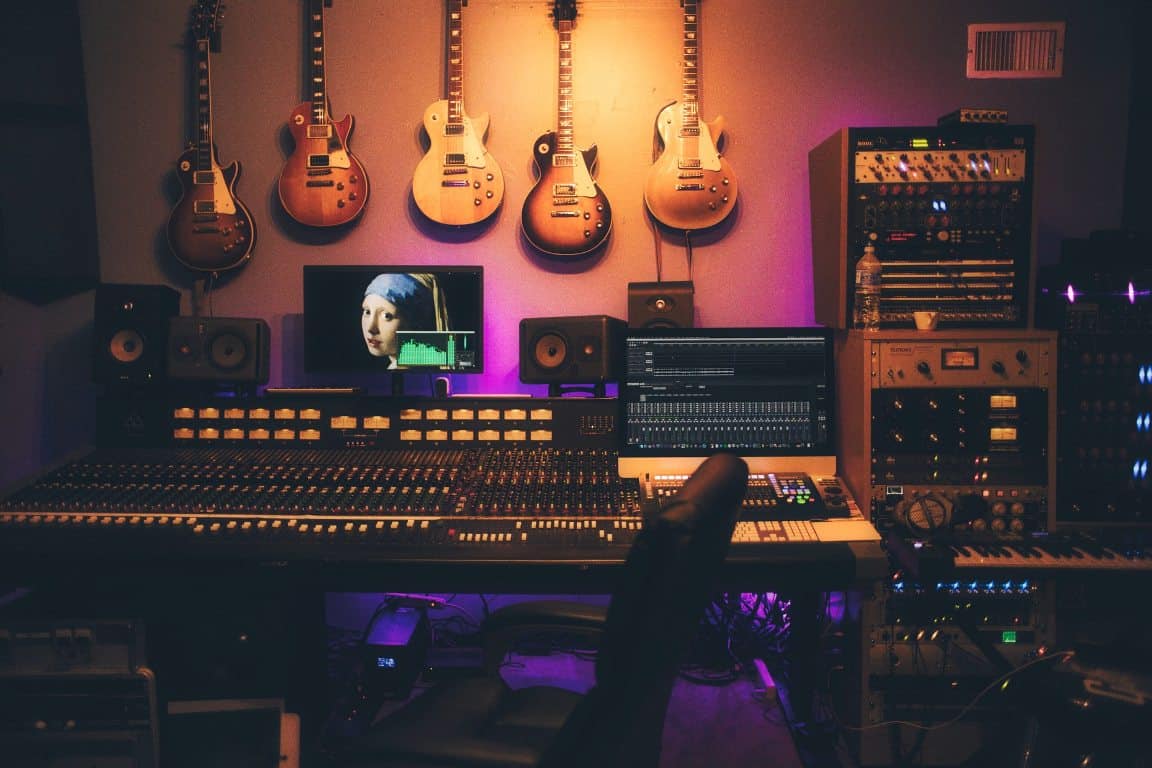
The Right Equipment
There is some essential equipment you will need. Others can be added if you have the space or money. You should invest into:
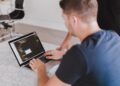
A Computer
A good computer is a smart investment. You will need a strong CPU and at least 8 GB of ram. Check the requirements for your preferred software to make sure they match. You also need to make sure it has the right ports for connecting the hardware.
Software
DAW, a digital audio workstation, is the software that gives you every tool you need for computer-based audio recording. There are many popular brands, such as Pro Tools, Logic Pro X Cubase, Reason, and more. Some software can be used for free, but the best functionalities are typically included in paid software.
A Digital Audio Interface
A digital audio interface transforms the analog signals you record with a microphone into the digital information a computer can process and edit, and the other way around.
Microphone(s)
Invest in several types of microphones. Some of them work better for recording voices, others record higher or lower frequencies more proficiently. You’ll want to buy at least one: condenser, dynamic, and ribbon microphone.
Condenser mics are great for a variety of instruments. Dynamic mics are used for both vocals and high output instruments like drums and guitar amps. Ribbon mics provide detail on vocals, guitars, or brass instruments.
You will also need microphone accessories, like balanced XLR cables, pop filters, and microphone stands.
Preamplifier(s)
Preamps are optional, but many studio engineers swear on them. They go between the mic and the digital audio interface and will add more warmth and depth to a recording.
Studio Monitors and Headphones
To properly assess the sound quality of your recordings, you will need high-quality monitor boxes and headphones.
Make sure to buy specialized studio monitors, since regular hi-fi speakers can color the sound. A set of two will be enough for the beginning. You will also need a good set of monitor stands to reduce the influence of the sound’s vibrations.
Open-back headphones will provide you with cleaner audio than closed-back headphones. The latter is great for listening to music in public, but the shell can cause undesirable low-frequency build-ups and resonances.
Conclusion
If you are passionate about creating music, a home recording studio is a right choice for you. A basic audio studio includes the mentioned items. The room you use for recordings and editing should be soundproofed. This is the easiest when it has no or few windows and corners. You can start out by using blankets and furniture to dampen the echo. Professional acoustic foam will be more efficient, once you can afford it.


